This is the third part of our Bring Your Own Database (BYOD) into Dynamics 365 series(Read Part 1 and Part 2 here! . In the second part, we have introduced the overview of BYOD, its functionality and how to set it up.
In third part, I will demonstrate some scenarios of using BYOD.
1. Export Data to BYOD
In order to use a data entity with BYOD, it needs to be published in Data Management workspace > Data Entities
Publishing a data entity

After publishing successfully, the field is ticked and if you have several BYODs, you can select them and publish all.

The publishing step is essential because it defines the entity schema on the destination database. Before inserting any records into the database, the structure of the entity must first be created.
Then we can create a new export project to test. For different business requirements, you can either get the data with a full push or an incremental push,
2. Full push
This, as expected, export all records of the data entity to BYOD. Here, for demonstration purpose, we will work with only one data entity.
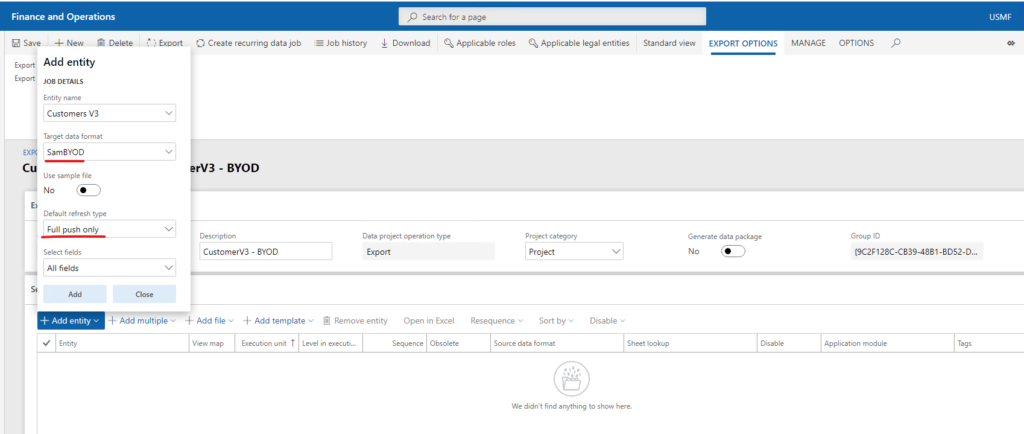
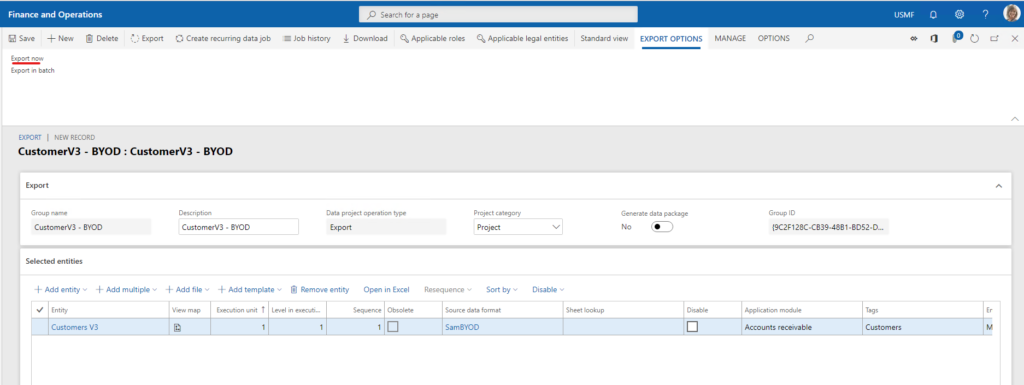
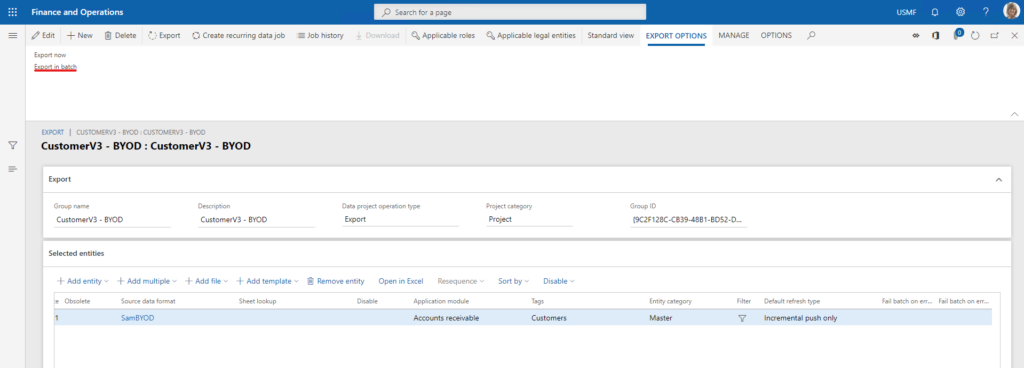
For exporting action, you can see that the export job can be triggered right away with Export now or be configured to run in the background as a batch job with Export in batch.
We will go with Export now first and there is an example of setting up the batch job later.
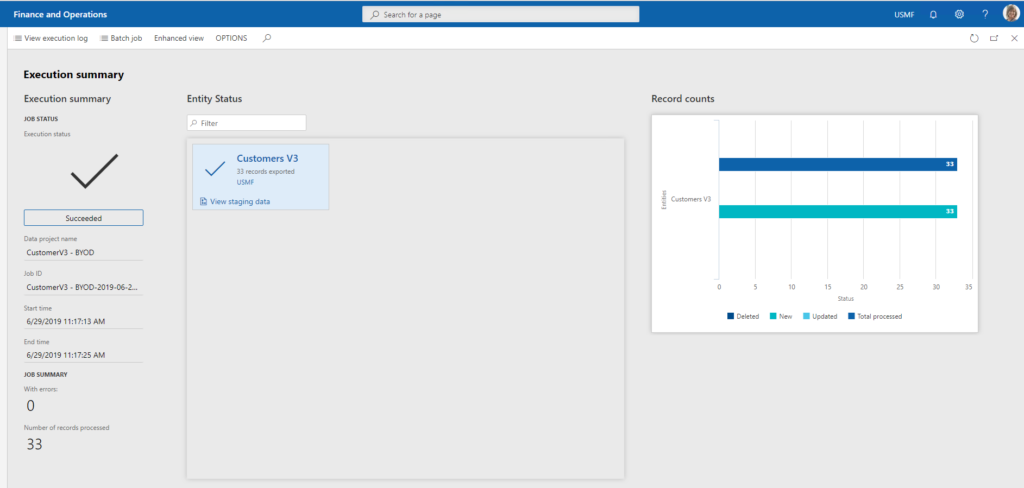
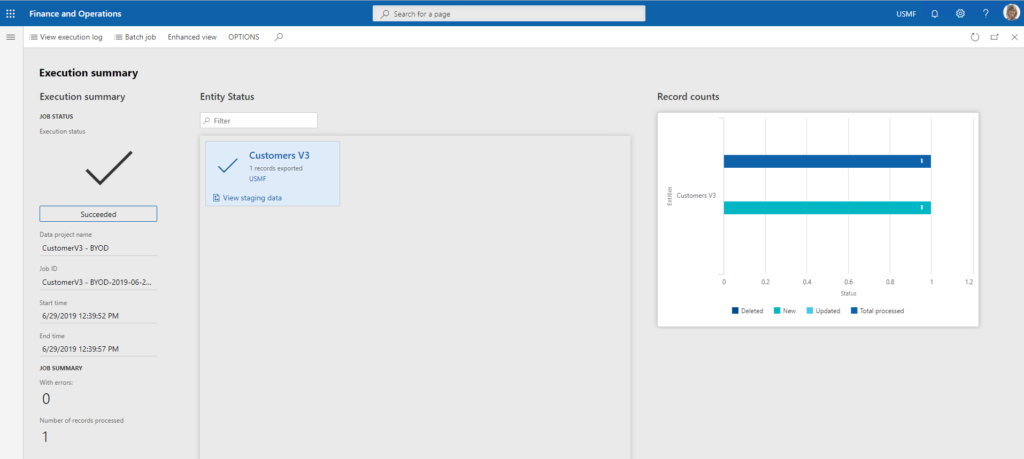
The export job is run and you can see the record counts. All customers are exported successfully.
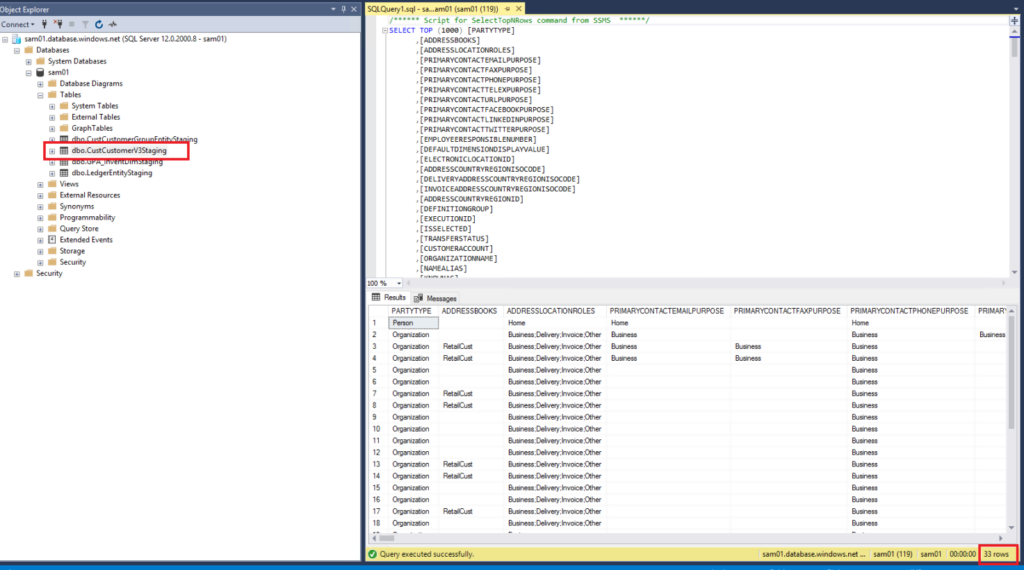
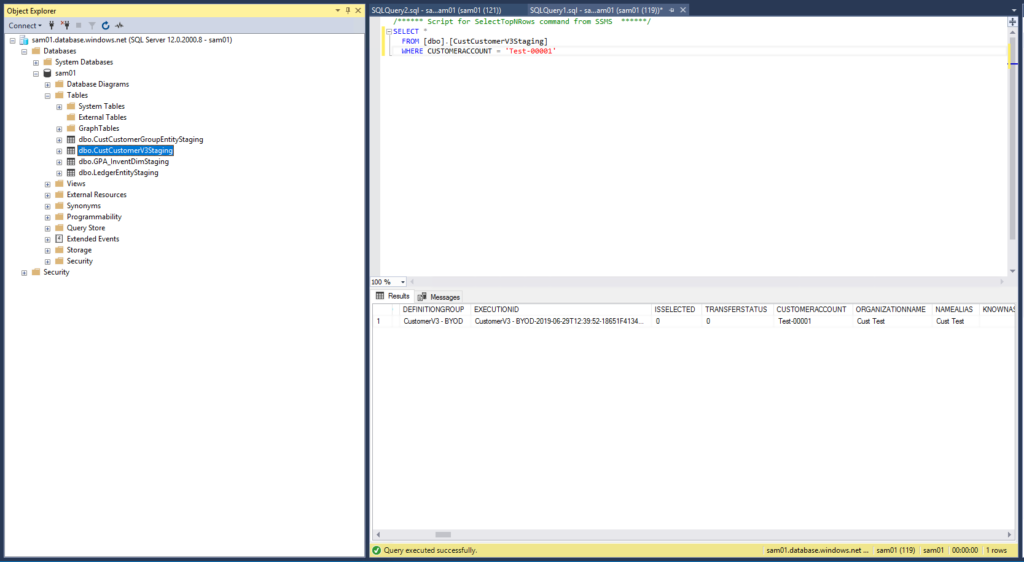
You can now see the data loaded in the table in the external database. The table is created in the publishing entity step.
3. Incremental push:
A full push deletes all existing records from an entity and then inserts the current set of records from the selected entity. This action ensures you have the latest data, however, large data will require much overhead and more time-consuming.
Sometimes, your solutions might need near real-time data or track data regularly, incremental push supports this requirment by tracking the changes of an entity and performing the export of changed records only.
First, by default, the system does not track changes of all entities. We will have to enable change tracking for our desired entities by going to Data Management workspace > Data Entities again. Here, for each entity, we can select enable Change Tracking. There are 3 different options for change trackings, which decide when a change is qualified for an incremental push.
- Enable primary table: only changes are made to the primary table of the entity, an incremental push trigger is called. Before changing some values of the primary table, there might be some other changes of non-primary tables, however, if an incremental push export job is run, no record will be updated or inserted to BYOD. Only changes in the primary table will trigger the insert or update action to BYOD but now the action will write all changes including both changes of non-primary and primary tables.
- Enable entire entity: tracks every change
- Enable custom query: this option is for a developer to track only a specific set of fields for their custom solution.

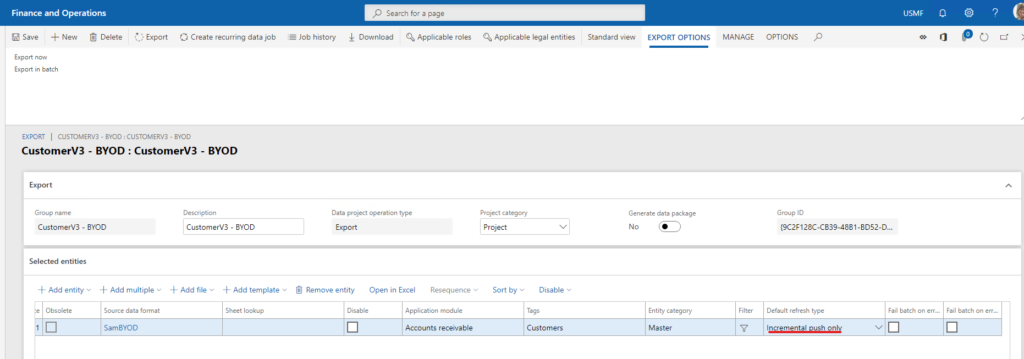
For incremental push, we have some important points to notice below.
- The first run of an incremental push is always a full push. It’s logical since the destination database has no records so all data is considered new changes.
After that, SQL knows which records exist and what to track for changes.
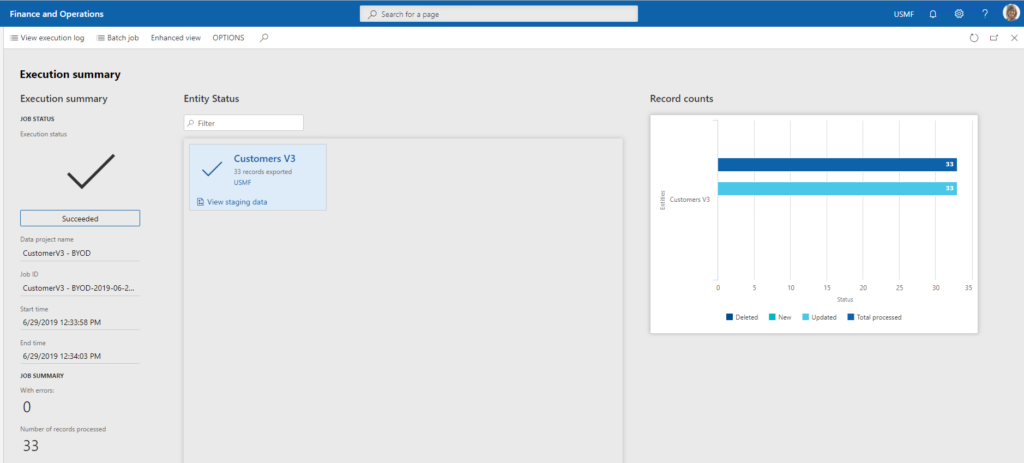
- Subsequent runs: all subsequent runs will track changes of the entity and export the changed records.
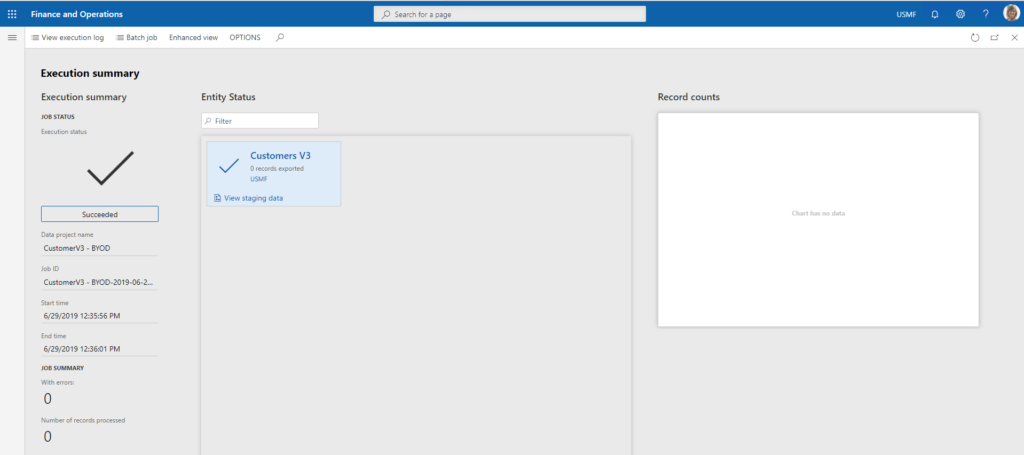
First, I run the export job another time. Without any changes, no records are exported as below.
Then I test by creating a new customer and run the export job again. Following the new record creation, the export job performs an insert to the BYOD.
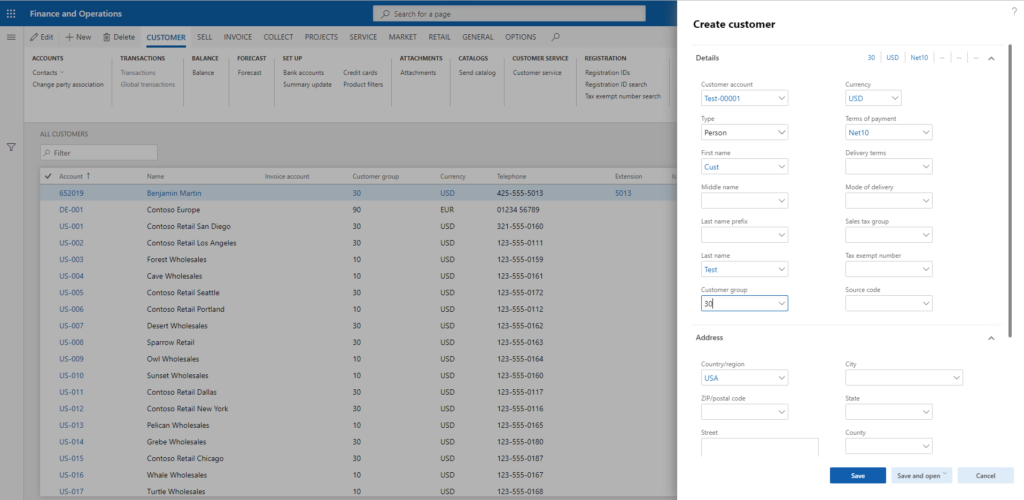
To double confirm, you can also find the new record in BYOD now.
4. Export in batch:
Due to data size, the export job might be run in the background and/or scheduled in a low-activity time.
Another benefit is to combining export in batch with incremental push to get latest data of an entity in your BYOD, which meets several business requirements for integration or reporting and analytics.
You can set the batch job recurrence as you preferred. One tip is to have different batch groups for different sets of actions. For live environment, you should configure your batch server and allocate batch groups to servers to balance and optimize workload for better performance.
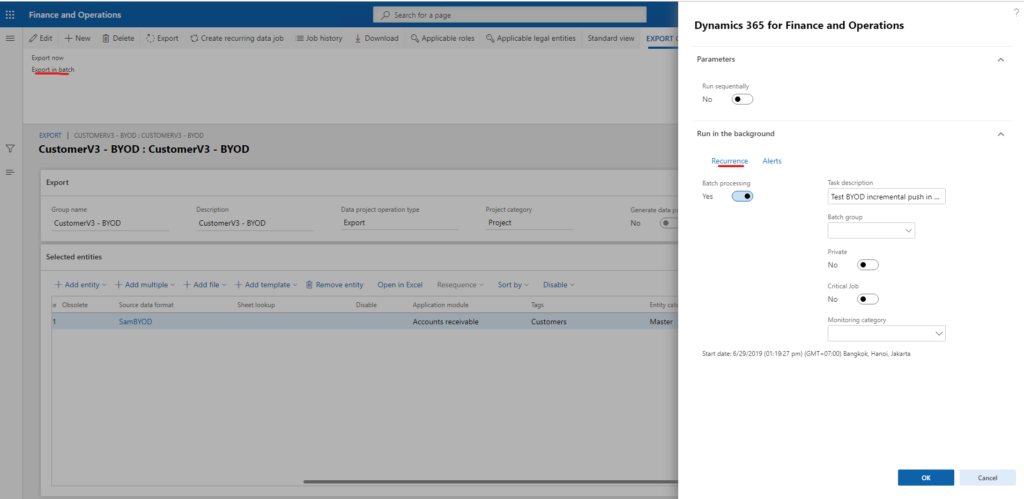
After setting the batch job, it will be added to the batch queue and you can see it in System Administration > Batch jobs

Here for the quick demonstration, the job recurrence is every 2 minutes. You can check the batch job history to see all records of batch runs.

In Data Management workspace, corresponding export jobs are also created whenever the batch job runs.

If you have not had the chance to follow up on our previous tips and tricks, read part 1 here and part 2 here! I-Net Dynamics is an Gold Partner of Microsoft with 25 years of experience with implementation, training and support of Microsoft ERP Systems. If you are currently using Dynamics 365 and feel a little lost, you can contact us here for assistance and support packages!


